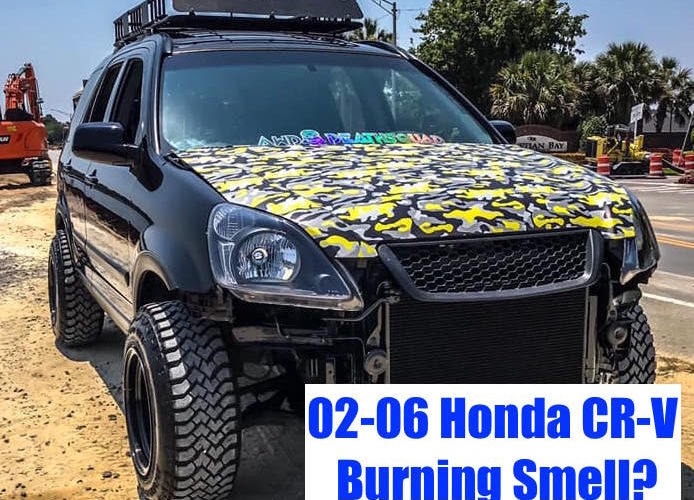
Do you have a 2nd generation Honda CR-V (02-06) and are experiencing a burning smell after driving and can’t figure out where it is coming from?
My friends Honda CR-V kept smelling like burning after driving so he finally asked me to take a look at it. Here is what we found and some tips to finding out what is causing the burning smell fast on your CR-V and how to repair it.
Table of Contents
Conclusions First:
1. Is burning smell coming from engine bay or brakes?
-
- If engine bay, then takes a look for leaks that could be dripping onto the hot exhaust. Typically these will be an oil leak that is dripping onto an exhaust leak and causing a burning smell or even smoke from under the hood.
- If you smell it from the brakes, find whatever brake caliper or rim is hotter than the other 3 and we have narrowed it down. Also, make sure you have NOT been driving with the emergency brake on (this will cause a burning brake smell).
2. If it is a sticking brake caliper we need to know which one it is with these easy tips.
-
- Find the caliper that the brake pads are significantly more worn than the other side.
- Now put the tire back on and try to move the wheel forward and backward with your hands while the car is on jack stands. Compare it to the other side on the same axle (front to front and back to back) does it feel significantly harder to move? You have found your sticking caliper (front or rear).
-

inner pad is completely worn down, and the outer pad has lots of life left.

3. Sticky Caliper or Stuck Caliper Slide Pins?:
-
- Before condemning the caliper to make sure to check that the caliper slide pins move freely. On a lot of rust bucket cars or cars from the rust belt, you will see caliper slide pins that have rusted in place. This will cause the brake pads to wear at different rates and can cause the same symptoms as a sticking brake caliper.
- For diagnosing and repairing sticking caliper slide pins click here for a good youtube video.
Replacing a Caliper:
On my friends 2006 Honda CR-V the driver side rear was dragging. This meant that after driving a long distance the brakes on the driver side rear would get SUPER hot because they were never fully releasing. This caused a burning brake smell and the brake pads to wear significantly faster than the other side.
One other pro tip for finding the sticking rear caliper is to go for a short drive then feel the rim or the actual brake rotor. Be careful not to burn yourself, but does one rotor or rim feel way hotter than the other? Once again that is another great indicator of a sticking rear caliper.
The steps to replacing the rear caliper on a Honda CR-V are the same as any basic car. There are no special tools needed or need for any electronic caliper tools.
Quick Steps for Replacing Caliper on Front or Rear Honda CR-V:
- Carefully pinch the brake line going to the old caliper a couple of inches above the old caliper– with pliers that are made for pinching brake caliper lines (you can also wrap pliers in cardboard or lots of tapes.
- Remove the bango bolt from the rear of the old caliper.
- Install the new bango bolt from new caliper using one washer on each side of the line. Start it by hand then tighten it down on the new caliper. Make sure you are only using TWO crush washers per caliper. Double stacking crush washers on accident will cause a leak.
- Tie the new caliper up and out of the way while you remove the old caliper and the old caliper bracket (12mm and 14mm bolts)
- Replace the pads and replace the caliper with the new bracket (if new caliper came with bracket).
- Once everything is fully installed back to normal remove the pliers crimping the brake line and immediately have a helper bleed the caliper you swapped.
- Bleed it until no air is seen at all coming from the line at the caliper. I recommend bleeding all four wheels, but if you do it fast enough (the bleeding) and properly you do not have to bleed all four lines.
- Test drive the car and be sure to pay attention to the pedal firmness. You want it to feel like it did before the brake job (if not better) and if a mushy pedal is found then you still have air left in the lines. Keep bleeding!
Sticky Calipers Can Cause Much More Damage:

If you ignore a sticky caliper and don’t figure it out quickly here is an example of what can happen that can end up costing you a lot more money.
It almost happened with my friend’s car they had put off fixing it for a while and the rear brake pads had worn down to the indicator bar. If they had kept driving then the rear pads on that side would have worn down to the metal backing plate on the pad.
This would have ruined the brake rotor on that side, and the rotors on the CR-V aren’t the easiest to replace since you need to adjust the emergency brake after replacing them. It could have also led to them being stranded somewhere when the rotor actually finally got red hot and started smoking or worse started on fire. (This happens).
You can also end up boiling your brake fluid and have all sorts of trouble if you let a sticky caliper keep causing problems.
My advice, if you smell burning in your CR-V figure out if it is coming from the brakes or the engine bay and diagnose and fix the problem before it becomes a big headache. If you are just smelling the brakes because you drove with the emergency brake on, then hopefully you remember to take it off next time!
Cheers