Table of Contents
Here is what you will need (you can substitute many things for this list): (Links to Amazon)
- A Sharp Punch (Or a Screwdriver you can hit with a hammer). I recommend this punch set (links to Amazon).
- If you want to be super pro buy this spring loaded punch (puncture oil filter without a hammer)
- A Nice Hammer (If you’re in the market, I recommend this 5 Piece Set (links to Amazon)— awesome value!)
- Protective Gloves (Disposable Nitrile I like the most) Be sure to get a size that will fit you.
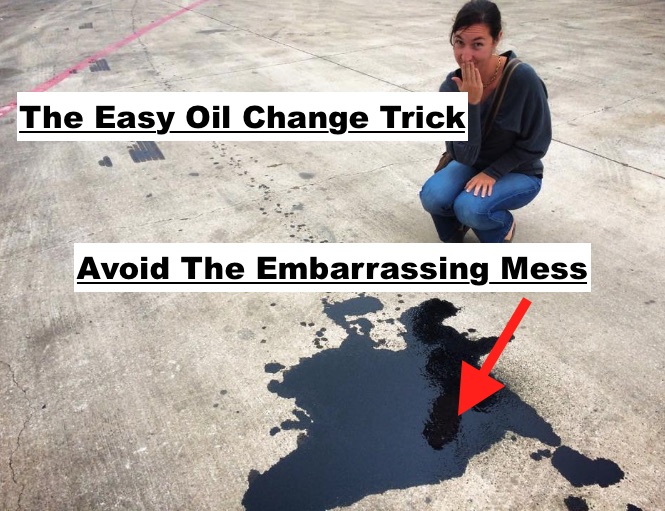
Tired of getting oil all down your arm when you remove the oil filter?
I don’t know about you, but I was pretty fed up with how messy this always seems to be. With this simple trick, your oil changes will be way less messy and way more environmentally sound as well.
Turns out, there is a better way! No more oil all over the underside of the car and all down your arm.
In order to do this trick you will need some basic tools that you should have anyways.
If you don’t have a good punch set, I recommend buying one for many different uses.
Also, you will need some type of hammer to drive the punch. Check the top of the article for links to products on Amazon I highly recommend having in your toolbox.
The Steps to a Mess Free Oil Filter Change:
- First, loosen the oil filter a tiny bit (just to be sure you can get it off). Leave it on tight enough that it isn’t dripping oil.
- Grab your punch and puncture the oil filter so that it will drain easily into your pan below.
- wait until it stops dripping into your catch pan and remove it (there may still be a little residual oil left in it).
- Dispose of it properly (take it to an auto store for recycling).
- Enjoy your clean hands and mess-free garage floor.
Watch these videos to see it in action:
Thanks to Midwest Garage and EpicCowlick!
BASIC STEPS FOR AN OIL CHANGE ON ANY VEHICLE:
- Remove the oil filter fill cap under the hood. It lets the oil drain out faster.
- Break loose the oil pan drain plug bolt.
- Grab a suitable catch pain (make sure it can hold enough– I have had many overflows)
- Take the oil pan drain plug bolt fully out, doing the last bit by hand (with gloves on). Once it is right about to come out I put pressure on the bolt, and remove it quickly so that the oil doesn’t get all over me.
- Let oil drain, then reposition the oil pan catcher so that when it is dripping it still catches it.
- Break the Oil Filter Loose (if done properly you should be able to do this by hand)
- Do not fully remove it, just break it a quarter turn or half turn loose so you know it will come off.
- Grab a punch and a hammer. (Use this spring loaded punch (Amazon link) to be even cooler)
- Puncture a hole in the lowest part of the Oil Filter so that it will drain into your oil catcher pan.
- You may have to put the drain plug back in at this point so that you can reposition the pan over the oil filter.
- Let oil filter drain into the pan.
- Remove Oil Filter and dispose of properly (recycle it at the auto parts store
- Grab Your New Oil Filter
- Put fresh oil on the rubber seal of the new oil filter (helps create a good seal)
- Reinstall and do not overtighten with a socket or anything. Just go hand tight, then a half turn more with a tiny bit of muscle. You will get used to the feeling after you do it a couple of times.
- Do a final tightening on Oil Pan Drain Plug Bolt.
- Do not overtighten drain pan plug bolt. Look up the torque spec for your vehicle if you feel unsure about this.
- Optional: replace the oil pan drain plug seal washer (cheap part, but you do not need to do this every oil change).
- Refill the car based on the guidelines in the owner’s manual. I usually go like a half quart less than what it says you need to add in the book.
- Lower the car.
- Check to make sure no leaks, and MAKE SURE THE CAR HAS OIL IN IT.
- Crank the car over a couple of times (not letting it start) to help it build oil pressure in the empty (new) oil filter.
- Start the car and drive it to level ground
- Let it sit, check the oil, and add still it is topped off.
- Write down the mileage and date of when you changed the oil.
- You can go to O’Reilly Auto Parts and ask them for some oil change stickers to put on your windshield (they’re free).
- You’re DONE! Dispose of the oil properly and enjoy a non-messy oil change.
Watch these videos if you’re confused about how to change your oil:
Thanks for reading! Hope that makes your life easier and less messy.
For anyone interested in what I think are absolutely awesome oil change tools check out my recommendations (Links To Amazon):
- Oil Filter Strap Style Removal Tool
- Punch and Chisel Set
- Protective Gloves
- Large Engine Oil Drain Pain W/ Spout (this one is Awesome!)
Same products with photos:
Thanks for reading. If you want to learn how to make your own brake cleaner and penetrating oil click here.


Pingback: Strawberry Milkshake of Death (SMOD) Photos + What Cars Are Prone To This Failure - AGradeTools.com